Decorating and maintaining your yard can be a daunting task. This may deter some from even stepping foot out there. What if there was a way to assemble a beautiful, idyllic backyard without the struggle of long-winded projects? Rest assured, there are plenty of things you can do to make your backyard the perfect relaxation space. Read on to learn some do-it-yourself tricks to create the backyard of your dreams.
1. Gravel Patio
Does the task of mowing your sprawling lawn get you down? What if you could have a low-maintenance option for your backyard that still looks great and is comfortable enough to spend time with family and entertain friends? During the stressful early days of the COVID-19 pandemic in 2020, more and more homeowners were attracted by the prospect of creating a fun and unique place to spend some time outside. Gravel patios can be the perfect way to achieve this.
The use of gravel means that this DIY project can be done over the course of a weekend, rather than waiting for an available timeslot to pour concrete. Gravel is cheaper than wood and lends visual interest to any yard, as it’s available in a variety of eye-pleasing shades.
You can achieve this project in a few steps. After you’ve measured and marked out the desired area for your patio, dig down to a depth of four to five inches. Surround the border of the area with bricks to prevent your area from collapsing as soon as the next rain hits. Fill the bottom two inches with three-quarter-inch crushed rock to establish a firm base, then cover the base with landscaping fabric. Add enough pea gravel to fill the rest of the area and still leave an inch of the top brick exposed. Finally, decorate with comfortable furniture and a fire pit. Your guests will love hanging out at this fabulous entertaining spot!
2. Brick Fire Pit

Fire pits have been growing in popularity recently, the perfect way to create a cozy backyard environment! With a brick fire pit, it’s easy to create an outdoor centerpiece that’s unique and also works as a design element in your yard.
Using brick as the main building material for your fire pit is a great decision for several reasons. Brick is fire resistant, and it will keep your fire in its designated space. Additionally, as backyards trend towards being more eco-friendly, you can take part in this trend as bricks are economical, sustainable, reusable, and recyclable.
Before you begin building your fire pit, ensure that you’re building it far enough away from permanent structures to avoid any fire hazards. It’s a good idea to check local codes to verify if there is a minimum required distance. When you’re far enough away from the home, plan out your firepit area and dig a trench that’s four inches deep for the perimeter of your pit. Fill with concrete. When the concrete is set, dig out the center of your firepit until you are twelve inches deep, then layer bricks and mortar until your firepit is at its desired height. It’s a good idea to have a water source or sand nearby to put out the fire if it ever gets out of control.
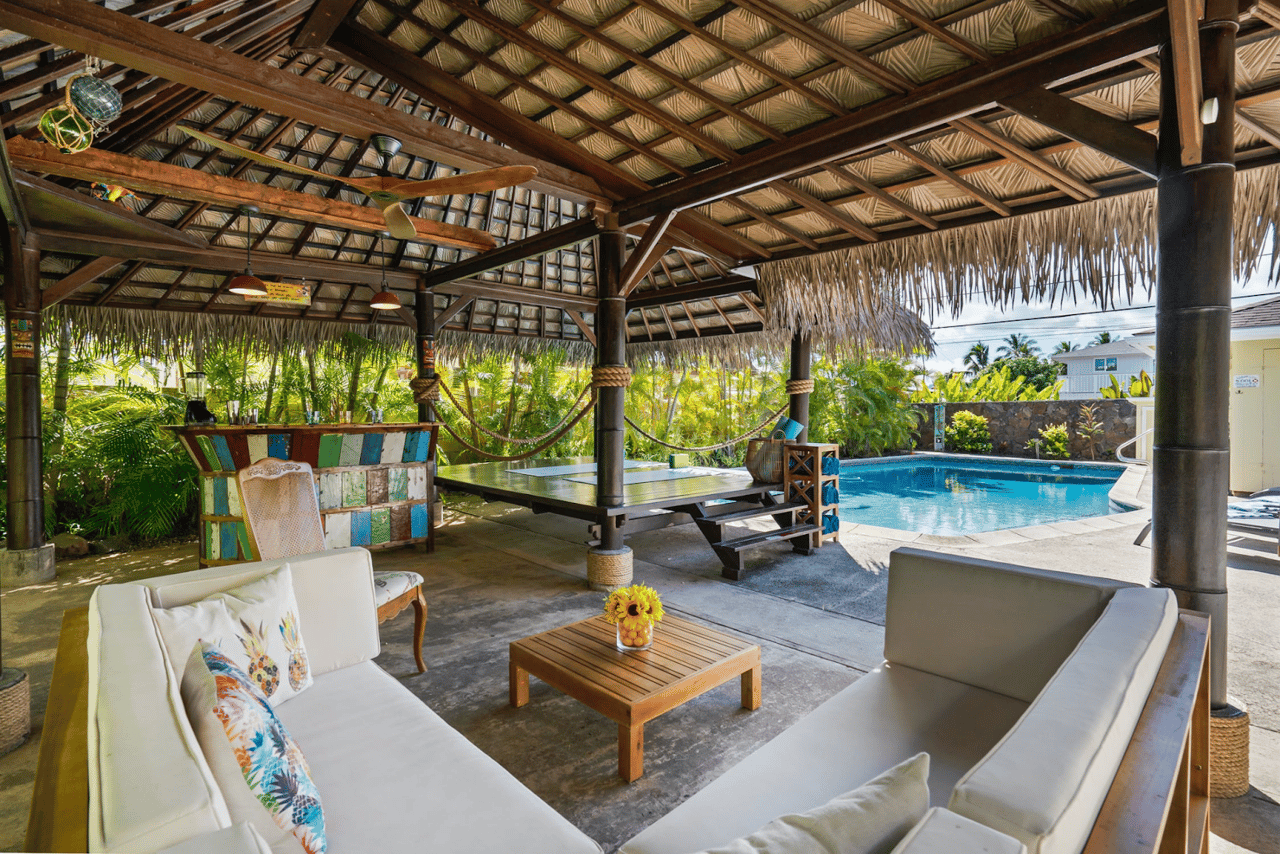
3. Illuminate the Area
Lighting can make an enormous difference in the amount of time you spend in your backyard. Of course, an aforementioned fire pit is an option, but it is not always appropriate or suited for your space. There are several lighting options you can consider, such as string lights, brass fixtures on LED bulbs, and in-ground lighting. However, not all of these can be used at once and maintain a cohesive design. It’s also good to consider what you can achieve yourself versus when to consider hiring a professional like Hawaii Energy.
We know these outdoor projects can be daunting, so here are a couple of ideas that will create warmth, build confidence in your skills, and light up your space. Solar-powered, LED-lit glass brick lights shine on major pathways throughout the yard, whether you choose to inlay them or place them on the plain level surface. After you’ve given your toes a dip in the waters, move on to the larger project, like planter lamp posts.
For lamp posts, choose a size that will work well for your area. You will likely need more than one of these if you have a larger space, so keep in mind how many you will need to make. Next, build your frame(s) out of two by fours with a plywood base. Add a four-by-four post block to the center of your frame. Now, you’re going to add the outside walls of your base. You can use reclaimed wood, wooden slats, or your chosen material, as long as there are no major holes. Mount some solar-powered lights on the top of a four by four post, place the post into the post block, and fill it with soil. These planters can be filled with edible plants, succulents, herb gardens, and flowers.
4. Reclaimed Wood Bar

Entertaining hasn’t been an easy ordeal since the beginning of 2020, so we can’t wait to be able to gather around the fire and share a laugh and a drink with good company. Whenever you’re able to bring everyone together again, make sure to be prepared with a brand new bar!
It won’t take long to create a piece that compliments the look and experience of your backyard. Bring in one of 2021’s most prominent decorating trends and utilize reclaimed wood for an additional design texture.
Reclaimed wood is old wood, commonly hardwoods, that has been repurposed and used again. This is an environmentally friendly decorating option, as well as a cost-effective way to utilize hardwoods. Many old tree species have been protected from being cut down, and fresh hardwood can be nearly impossible to find. Woodworking Hawaii is a local company that specializes in reclaimed woods, so you can find unique reclaimed pieces that speak to you. Aging will bring out the natural color of the wood, so when you purchase a waterproof sealant, consider going for a clear finish that will allow the natural wood to complement your outdoor design.
Keep in mind your goals for the bar and incorporate the measurements for these features as you prepare to start. This project is easily achieved by measuring out the area for your bar and building a frame from two-by-four beams. On the outside of the frame, choose which direction your boards will go and attach reclaimed wood boards with nails or screws. If you’ve included shelves, a mini-fridge, wine bottle rack, or other various design details, now is the time to assemble or place these elements.
5. Brick Grill Housing
Outdoor kitchens are quickly becoming the next outdoor living spaces. These “kitchens” tend to include many of the same features of your indoor kitchen with sinks, counters, fridges, storage space, and of course, a cooking element. While some may opt for smaller diesel burners or adding a clunky grate to the top of their fire pit, many will likely opt to utilize the most common choice of a grill. This DIY project utilizes the same bricks from the fire pit project, is a little lengthier, and is probably the most challenging on this list, but the outcome is well worth the work.
Begin by measuring out and leveling your desired area, ensuring your grill will fit within it. Lay down your first layer of mortar and bricks. Lay a spare two-by-four on the bricks, then using a hammer, tap to secure the bricks to the mortar. Repeat the mortar, brick, and level process for the remaining layers until the grill fits with the lid open. It is very important to offset the bricks as you build and be sure that the brick you’re laying begins and ends at the middle of the brick in the previous layer. This ensures the structural integrity of your project.
6. Raised Garden Bed

In the heights of the COVID-19 quarantine, many individuals found themselves with more time to spend on new hobbies. Between this excess time and constant grocery store inventory panic, it became incredibly popular to not only garden but to grow plants that could replace a handful of grocery store trips. Vegetables, herbs, and fruits are all having their time in the spotlight as edible gardening rises in popularity. To take advantage of this trend in your own backyard, consider creating your own raised garden bed. This project is quick, and it can bring you great rewards over time.
Begin by building a frame out of two-by-fours, then use plywood or two-by-sixes to create the walls according to desired wall thickness. Add a weed barrier to the inside floor of the raised bed, pour a layer of rock on top of the weed barrier to allow your plants sufficient water drainage, and then fill with soil. Your raised bed is now ready for planting!
Creating the backyard of your dreams doesn’t have to be a lengthy process. Spend more time with your loved ones than you do hiring contractors to build out the space of your new Honolulu, HI real estate. Modern homes need modern backyards that focus on bringing people together outside now more than ever. If you don’t have the piece of property that inspires you to spend time outside, contact a Honolulu real estate agent today!